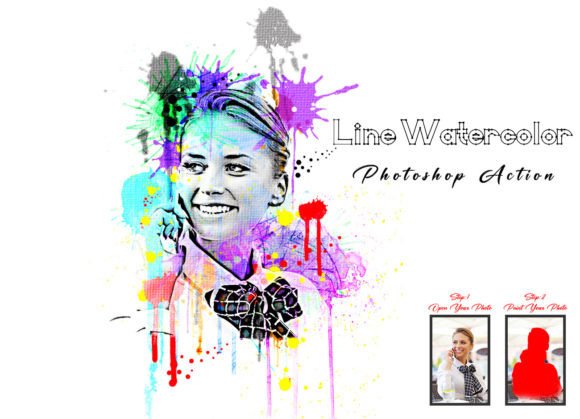
Line Watercolor Photoshop Action Review
First Impressions: Translating Digital Art to Stitch
As an embroidery designer who constantly bridges the gap between digital artistry and tangible textiles, I approach every new tool with a specific question: will this actually work on fabric? When evaluating the Line Watercolor Photoshop Action, my initial assessment focuses less on the pixel-perfect screen preview and more on how those fluid, artistic lines will translate into physical thread. This add-on is designed to convert standard images into stylized line art with a watercolor aesthetic, but for those of us in the craft business or running an Etsy shop, the real value lies in its utility as a pre-digitizing asset.
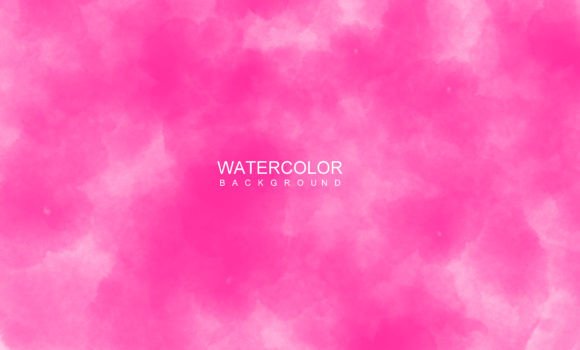
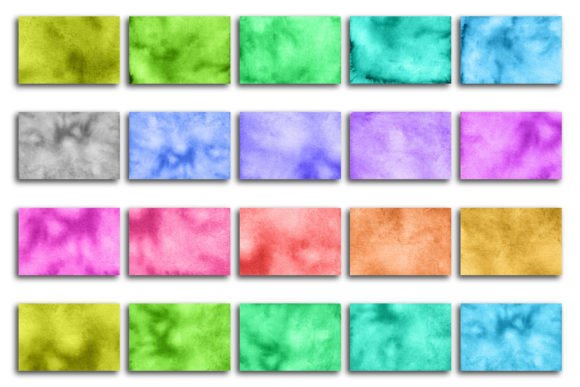
The mood this action creates is distinctly modern yet nostalgic. It softens harsh digital edges into something that mimics hand-drawn illustration. For an embroidery project, this is crucial. Standard vector conversions often result in sterile, rigid outlines that look mechanical when stitched. The Line Watercolor Photoshop Action introduces organic variation in line weight and texture. Visually, it suggests a sketch-like quality that pairs beautifully with running stitch or lightweight satin columns. However, as a reviewer, I immediately look for potential pitfalls. Watercolor effects on screen rely on opacity and blending; in machine embroidery, we cannot blend thread colors mid-stitch. Therefore, I judge this action based on how well it separates these tonal values into distinct, stitchable regions rather than muddy gradients.
Real-World Application: The Custom Tote Bag Test
To truly evaluate this tool, I applied it to a current client request: a series of botanical tote bag designs for a local florist’s boutique merchandise. The client wanted artwork that felt "hand-painted" but needed the durability of embroidery. Using the Line Watercolor Photoshop Action, I processed their high-resolution flower photos into line art assets.
The result was a significant time-saver for creating design assets. Instead of manually tracing petals in Illustrator or digitizing software, the action generated a base map that retained the natural imperfections of the original photo. When I imported this processed image into my digitizing software, the varying line weights provided a clear roadmap for stitch types. Thicker, darker lines from the action naturally translated to double-run stitches or narrow satin borders, while the fainter, textured areas served as guides for light fill stitches or decorative accents. On the finished handmade product, the design possessed an artistic fluidity that standard auto-digitizing simply cannot achieve. The customer reaction validated the effort; they noted that the custom apparel and bags looked like premium boutique items rather than generic promotional gear. This directly impacts perceived value and justifies a higher price point for small shop products.
Navigating Fabric Limitations and Stitch Density
While the Line Watercolor Photoshop Action excels at creating beautiful source material, it requires careful interpretation during the digitizing phase. Not every output is suitable for every surface. As an experienced reviewer, I must emphasize where caution is necessary.
- Textured Fabrics: The subtle details generated by this action can get lost on heavy canvas or linen. If you are planning sweatshirt embroidery or working with terry cloth towels, you may need to increase the contrast settings within the action or manually thicken the lines post-processing to ensure visibility.
- Stretchy Materials: Delicate watercolor lines often imply fine detail. On knit fabrics used for baby embroidery or performance wear, intricate running stitches can cause puckering or tunneling. Use the action’s output as a guide, but simplify the design for stretchy substrates.
- Dark Fabrics: Watercolor aesthetics rely heavily on white space and light tones. On black or navy garments, the negative space becomes the design. Ensure your thread colors have enough contrast against the dark background, or consider using a white underlay or applique foundation to preserve the intended visual personality.
- Small Hoop Sizes: The organic nature of this effect includes micro-details that may not register clearly in a 4x4 hoop. Always verify that the smallest elements exceed 1mm in width to prevent needle breaks or thread bunching.
For commercial embroidery projects involving caps or curved surfaces, test the design extensively. The distortion inherent in cap framing can warp delicate line work. In these cases, use the Line Watercolor Photoshop Action to create bold, simplified motifs rather than intricate portraits.
Elevating Brand Consistency and Product Value
Beyond individual projects, this tool serves a strategic purpose for creative entrepreneurs. Consistency is the hallmark of a professional brand. By using the same Photoshop action across your catalog, you establish a cohesive visual language. Whether you are selling digital embroidery files, printable mockups, or finished goods, the uniform artistic style builds recognition and trust with buyers.
For Etsy sellers and makers, presentation is everything. The soft, artistic renderings produced by this action make for stunning listing photos and social media content. They communicate a sense of craftsmanship before the customer even reads the description. Furthermore, when offering personalized gifts like wedding keepsakes or nursery decor, the watercolor line style feels inherently more intimate and custom than clip-art alternatives. It signals to the buyer that thought and artistry went into the creation, enhancing the emotional connection to the finished product.
Essential Designer Notes for Safe Implementation
Before adding the Line Watercolor Photoshop Action to your permanent workflow, adhere to these practical guidelines to ensure professional results:
- Always Test Stitch: Never assume the digital preview equals stitch reality. Run a test on scrap fabric identical to your final project. Check if the line variations translate cleanly or if they require density adjustments.
- Verify Licensing: Confirm whether the action allows for commercial use of derived designs. If you plan to sell the resulting machine embroidery design or use it on merchandise for sale, ensure your license covers this specific application.
- Check File Compatibility: While this is a Photoshop action, ensure your version of PS supports it. Also, consider how easily the exported files integrate with your specific digitizing software. Clean, high-contrast PNGs usually import best.
- Stabilizer Selection: Fine line art demands stability. Use appropriate stabilizer choices (cut-away for knits, tear-away for wovens) to prevent the delicate lines from distorting during stitching.
- Mockup Validation: Create both color and black-and-white mockups. Sometimes a design looks vibrant on screen but lacks definition in grayscale. This step is vital for ensuring your applique design or line art reads well in various marketing contexts.
- Simplify for Washability: If designing for items requiring frequent washing like kitchen towels or baby clothes, avoid excessively long floating stitches. Anchor your watercolor lines securely to the fabric base.
The Line Watercolor Photoshop Action is a powerful ally for the modern embroidery artist, provided it is treated as a starting point rather than a final solution. It bridges the aesthetic gap between digital illustration and textile art, offering a unique edge in a saturated market. By applying professional judgment and respecting the physical constraints of thread and fabric, you can leverage this tool to create embroidered patches, apparel, and gifts that stand out for their artistry and quality. Always prioritize the tactile reality of the stitch over digital perfection, and your work will resonate authentically with customers.